Hi folks, this is CCS.
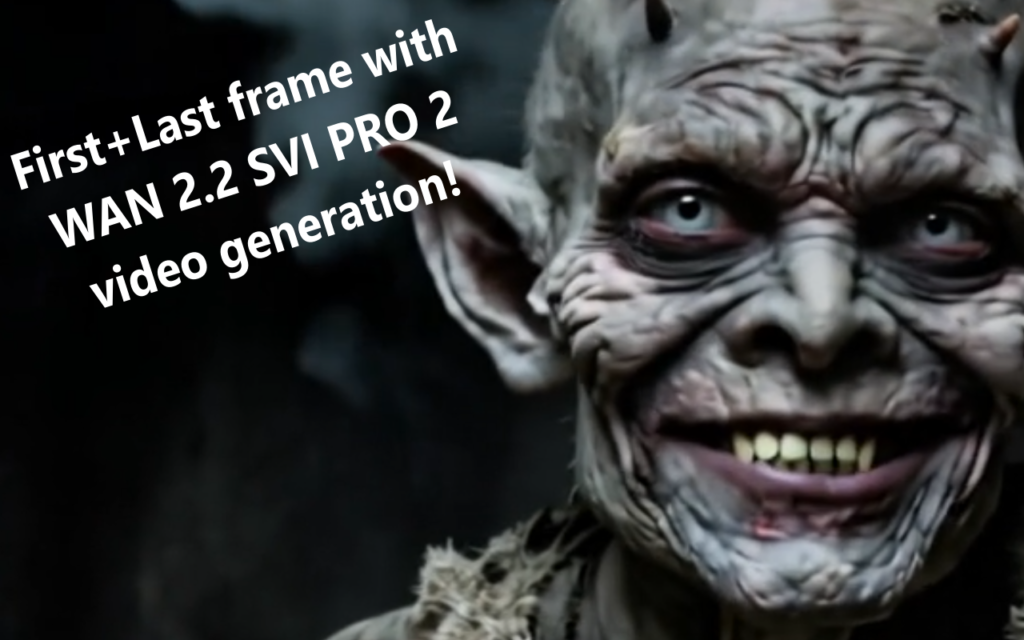
Today I am sharing the WAN 2.2 SVI Pro FIRST-TO-LAST-FRAME workflow – the two-segment version. This is the entry point into the full system, designed to be clean, readable, and immediately usable even if you have never worked with multi-segment video generation before.
WHAT SVI PRO 2 ACTUALLY DOES
WAN 2.2 in its base form is a strong image-to-video model. But it has one well-known limitation: a single generation pass gives you a short clip, and if you try to chain passes naively, identity drift and temporal instability kill the result fast.
SVI Pro v2 is a temporal stability LoRA – rank 128, fp16 – built specifically for WAN 2.2. It does not change the visual style. It reconditions the model to stay coherent across time. Motion stays structured, subject identity holds, and most importantly the model becomes chainable: you can generate multiple segments and they connect into a continuous clip instead of feeling like separate generations cut together.
That is the foundation this workflow is built on.
THE WORKFLOW IN STEPS
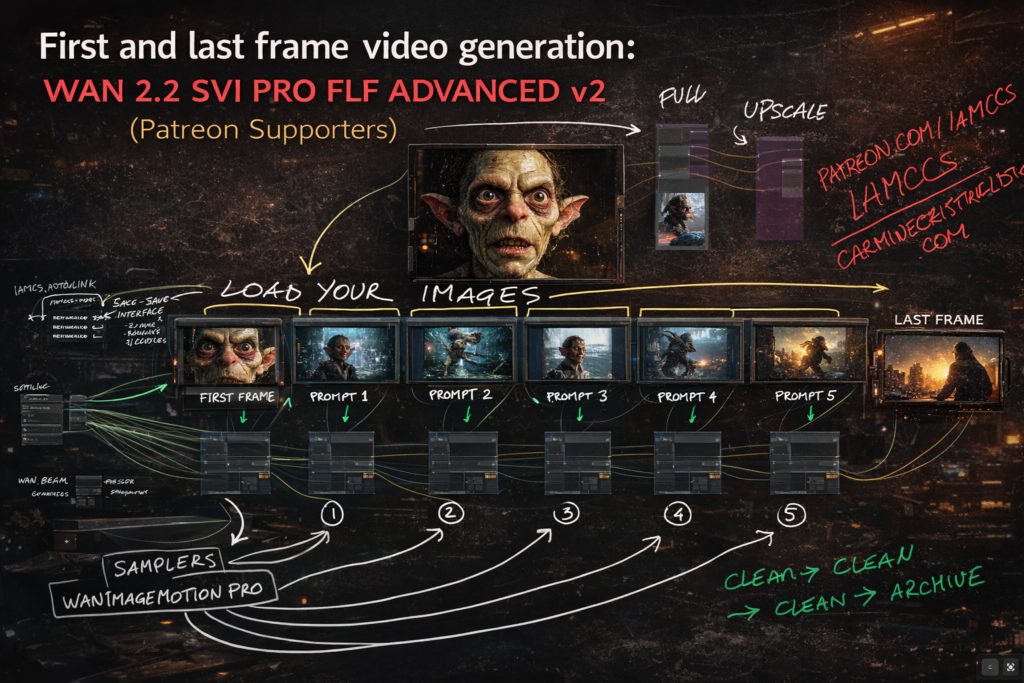
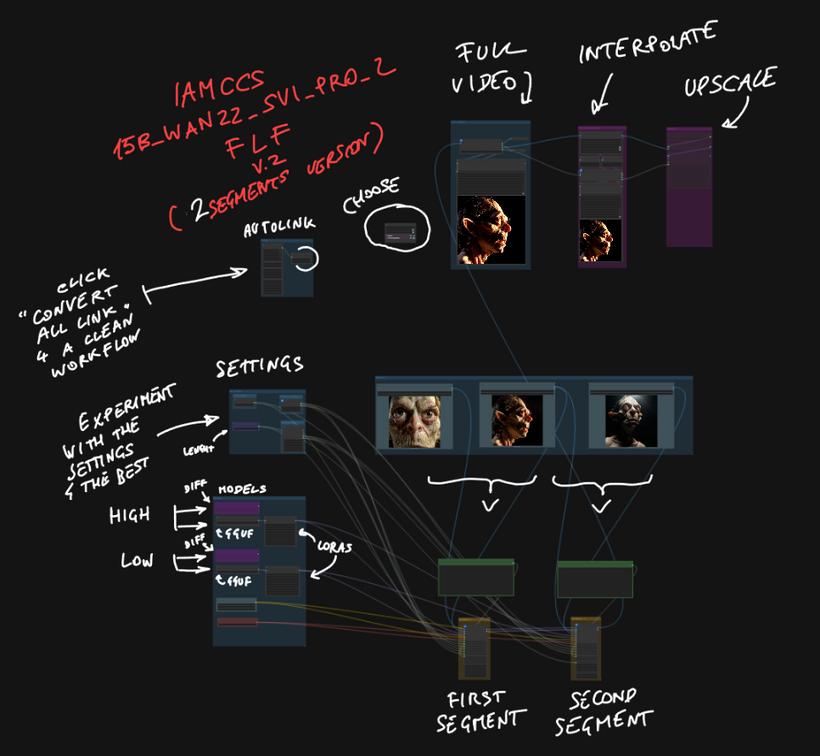
STEP 1 – SETTINGS

Everything global lives in one place: FPS, duration in seconds, frame size in megapixels, sampler type, and the hi/lo step split. You set these once and they distribute automatically to both segments via IAMCCS AutoLink nodes. No manual wiring between segments.
The total frame count is calculated for you – Duration multiplied by FPS – and displayed in a ShowText node so you always know what you are generating before you queue.
STEP 2 – MODELS
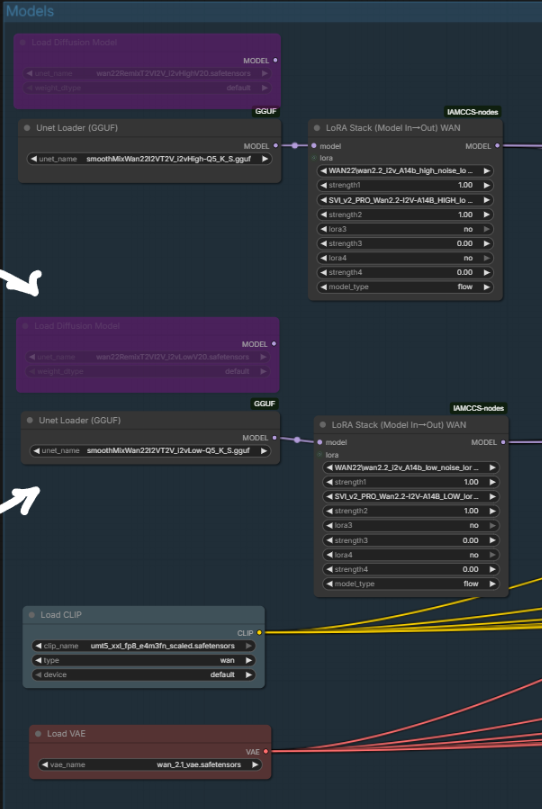
The Models group holds the UNET (two paths available: safetensors and GGUF for lower VRAM), the CLIP text encoder, and the VAE.
The SVI Pro v2 LoRA is applied through IAMCCS_WanLoRAStackModelIO. Both a HIGH variant (full rank 128) and a LOW variant (reduced VRAM cost) are available in the workflow. Stack additional LoRAs in sequence if needed – style or character LoRAs apply on top of SVI Pro.
STEP 3 – IMAGES AND FIRST/LAST FRAME
Load three images into the IMAGES group: your first frame, your last frame, and an optional anchor reference. The first frame defines where the video starts. The last frame defines exactly where it ends – not as a soft suggestion but as a hard lock. The FLF system (First to Last Frame) encodes both endpoints as latents and writes them directly into the temporal slots of the generation. The model fills everything in between.
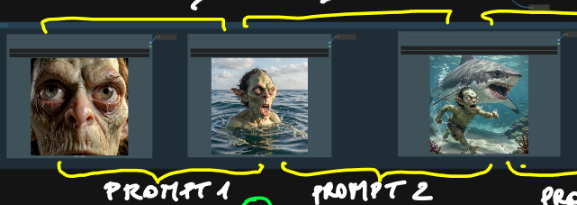
This is the key mechanic for filmmakers: you are not prompting blindly and hoping the result ends somewhere useful. You choose the destination before you queue.
STEP 4 – PROMPTS – ONE PER SEGMENT
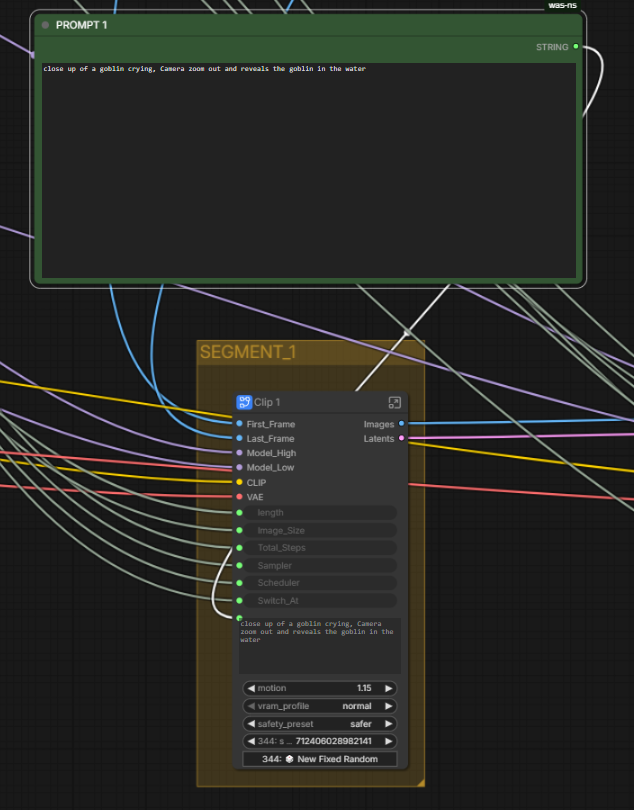
Each segment has its own independent prompt. PROMPT 1 drives Segment 1. PROMPT 2 drives Segment 2. This matters in practice: you can describe the beginning of the motion in Prompt 1 and the continuation or shift in Prompt 2. The model transitions between them through the motion chain, not through a hard cut.
For example: Prompt 1 describes the subject in its starting state, Prompt 2 describes the subject in its destination state. The pipeline handles the path between them.
STEP 5 – TWO SEGMENTS IN SEQUENCE
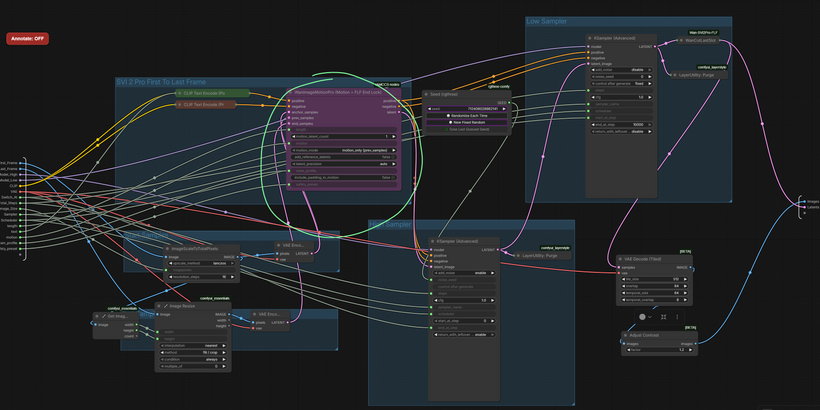
The two generation segments use WanImageMotionPro internally. Each segment runs a two-pass sampler: the High Pass handles structure and large-scale composition, the Low Pass completes fine detail and texture. Both passes are driven by the same KSampler settings you configured in SETTINGS.
Segment 1 generates from the first frame. Its latent tail is passed automatically to Segment 2 as prev_samples. Segment 2 picks up exactly where Segment 1 ended and continues the motion forward toward the last frame lock.
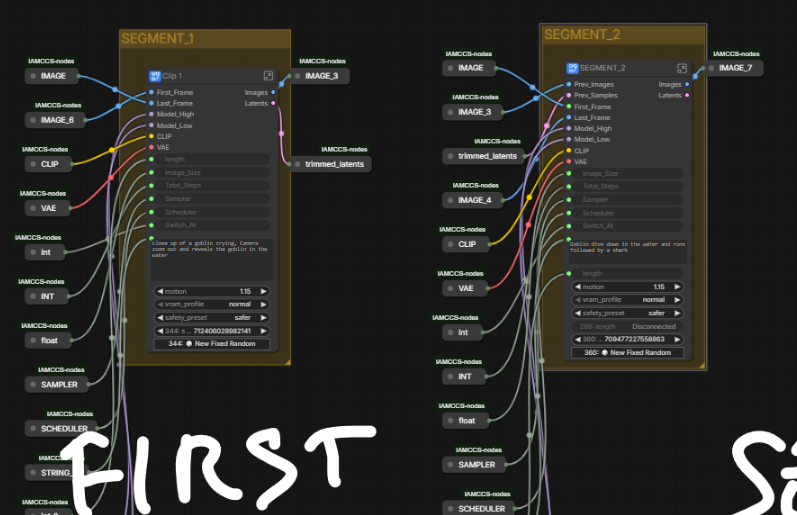 AUTOLINK ENABLED
WanCutLastSlot removes the structurally duplicated last frame before the segments are joined. ImageBatchExtendWithOverlap then blends the seam. The result is a single continuous image batch with no stutter at the join point.
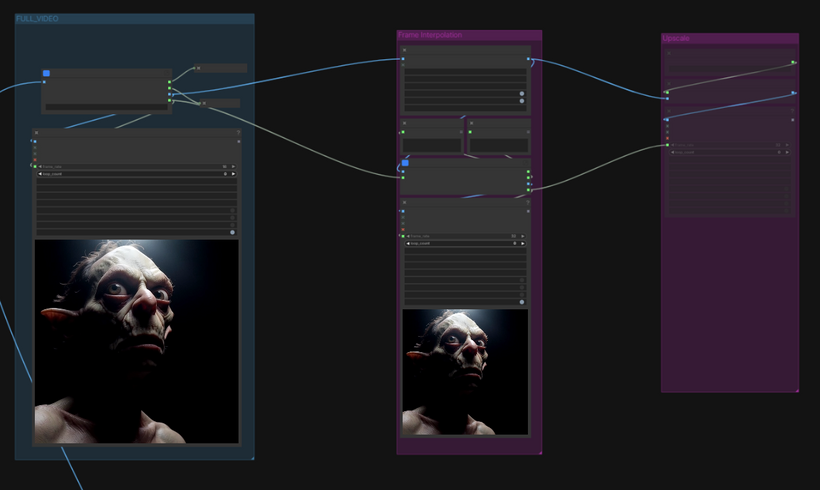
STEP 6 – POST-PROCESSING
The decoded image sequence passes through RIFE VFI for frame interpolation, which doubles the frame rate smoothly before the final output. An optional RealESRGAN x2 upscale path is available for resolution increase. Three video outputs are produced: the base low-FPS version, the interpolated high-FPS version, and the upscaled version.
WHAT YOU NEED INSTALLED
IAMCCS_nodes – WanImageMotionPro, WanLoRAStackModelIO, WanCutLastSlot, AutoLink nodes
https://github.com/IAMCCS/IAMCCS_annotate – to view the embedded workflow notes
ComfyUI-VideoHelperSuite – VHS_VideoCombine
ComfyUI-RIFE – frame interpolation
ComfyUI-GGUF – if using the GGUF model path
rgthree – KSampler Config and Seed nodes
comfyui-easy-use – easy float and easy int primitives
Models:
wan2.2-i2v-a14b.safetensors or a GGUF quantized equivalent
umt5_xxl_fp8_e4m3fn_scaled.safetensors (CLIP)
GOING DEEPER…
This two-segment version is the clean entry point.
The same pipeline scales to six segments, with longer durations, IAMCCS_qwen vl flf to translate 2 images, full motion boost control, per-channel safety stabilization, and a complete breakdown of every parameter.
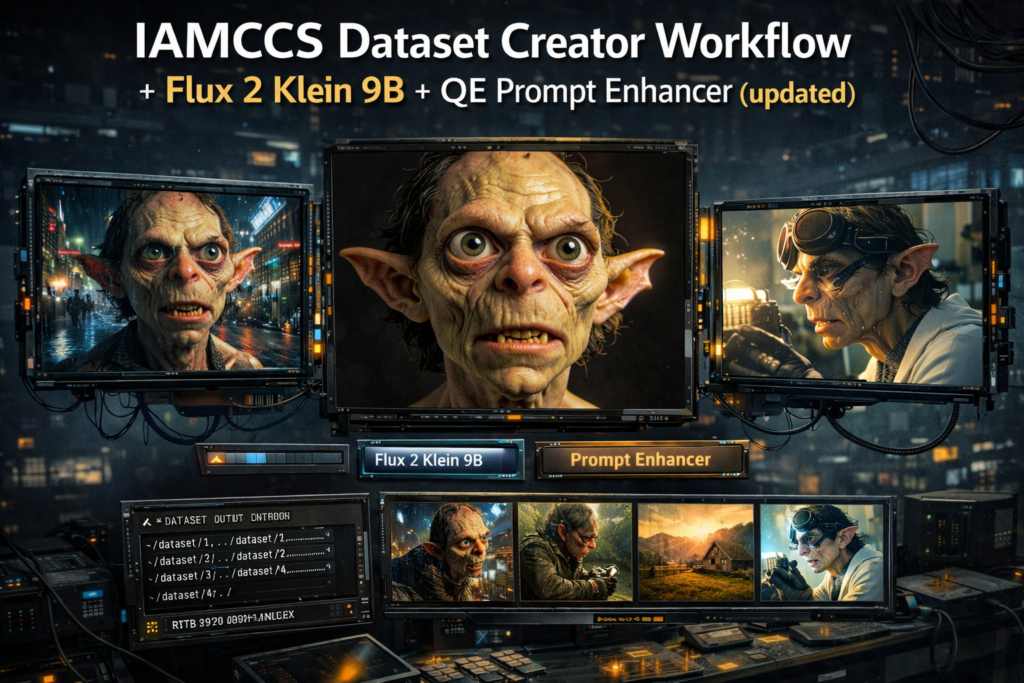
If you want to understand exactly how the motion boost math works, how the Hi/Lo sampler split behaves, how to tune motion amplitude and safety presets for different shot types, and how to connect this workflow with the Dataset Creator to build consistent character-driven video – all of that is in the Premium and VIP supporters post, with 15 reference diagrams covering each subsystem in detail, an AI driven podcast about the workflow and as usual PDF materials.
That post is the technical companion to this one. This one gets you running. That one explains why everything works the way it does with more controls.
Grab the workflow, load your first and last frame, write two prompts, and queue.
More soon.
– CCS